Links
LANTank Wiki (Google Translate)
LANTank Product Page
LANTank Install ISO
About
So you bought a LANTank for developing Linux but you don't understand Japanese ?
No problem !
Install + Assemble
Before trying to put together the case, you need to install Linux
onto a hard drive. My setup is just a single 80gig drive, so I
can't comment on the raid features. Take the installer CD (see
the Links below for a copy if you don't have one) and the hard
drive you will be using in the lantank and connect them to an
Intel based machine (since the installer is i386 based). Then
boot off of the CD. You will go through a bunch of menu's with
Japanese text, just keep hitting enter until you get to the
screen where you have to select the hard drive. To prevent
screwing up any other drives, I disconnected everything except
for my 80gig. So my list only had one entry which I selected.
A progress bar will come up which tracks the copying process
from the cd to your drive. Once it finishes, the cd will just
shutdown your computer. Pop out the drive and install into your
lantank. Assemble the case and everything and hook it up to
the network (btw, the green LED is power while the red LED is
for access).
Setup
The default network settings at first boot are:
IP: 192.168.0.200
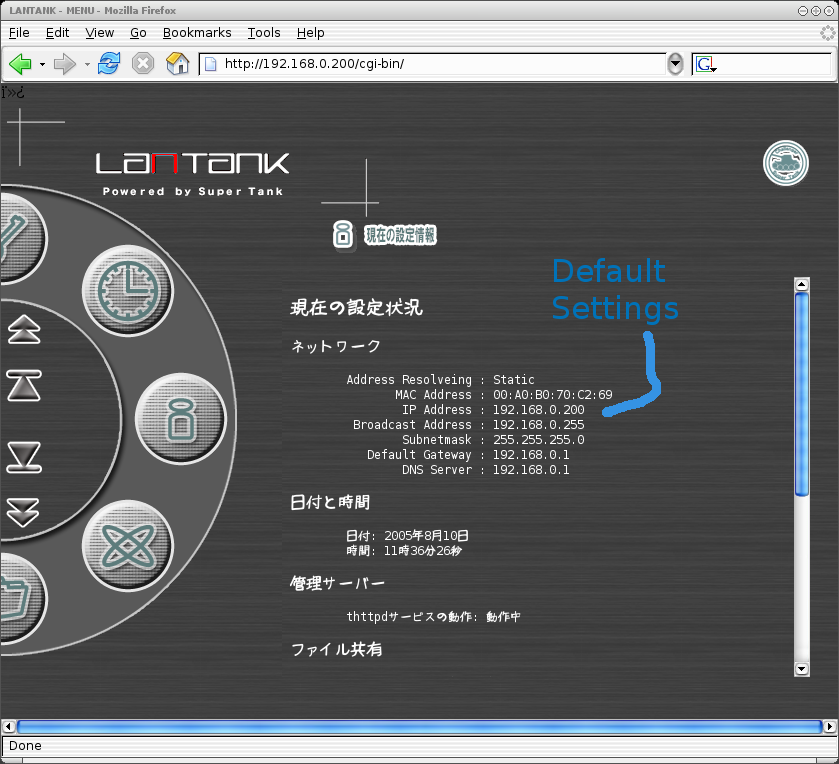 So make sure you have another computer on the LAN which can reach
192.168.0.x addresses :P. Once the machine is up and running,
point your web browser at http://192.168.0.200/
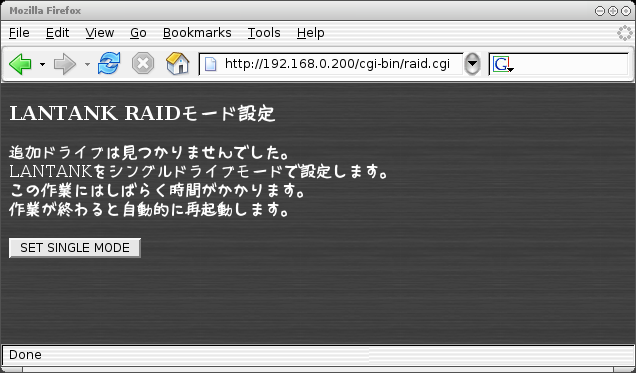
If you are not using two drives in a raid (like me), the screen
will be very basic and just mention something about switching to
'single mode'. Just click the button on the page. Wait a bit for
the machine to do its thing and reboot again.
So make sure you have another computer on the LAN which can reach
192.168.0.x addresses :P. Once the machine is up and running,
point your web browser at http://192.168.0.200/
If you are not using two drives in a raid (like me), the screen
will be very basic and just mention something about switching to
'single mode'. Just click the button on the page. Wait a bit for
the machine to do its thing and reboot again.
 Point your browser to http://192.168.0.200/ again and this time
you should be prompted with a login/password. The default info
is 'admin' for the username with no password. This should drop
you into a configuration screen of sorts. Navigate the twirly
thingy on the left around and click on the image with a key on
it.
Point your browser to http://192.168.0.200/ again and this time
you should be prompted with a login/password. The default info
is 'admin' for the username with no password. This should drop
you into a configuration screen of sorts. Navigate the twirly
thingy on the left around and click on the image with a key on
it.
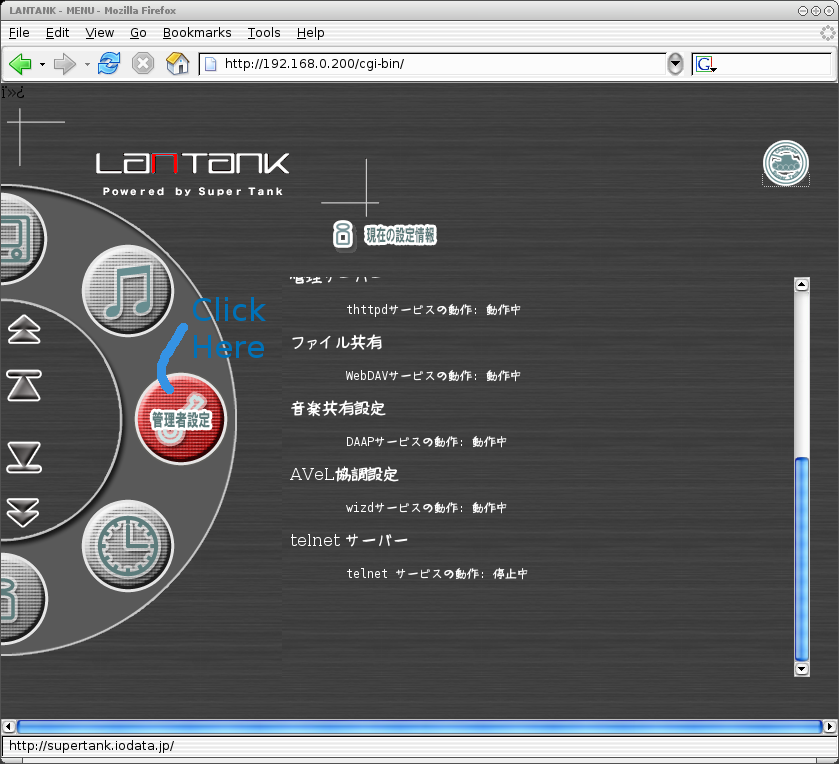 In the middle of this page you should see some stuff about
'telnet'.
In the middle of this page you should see some stuff about
'telnet'.
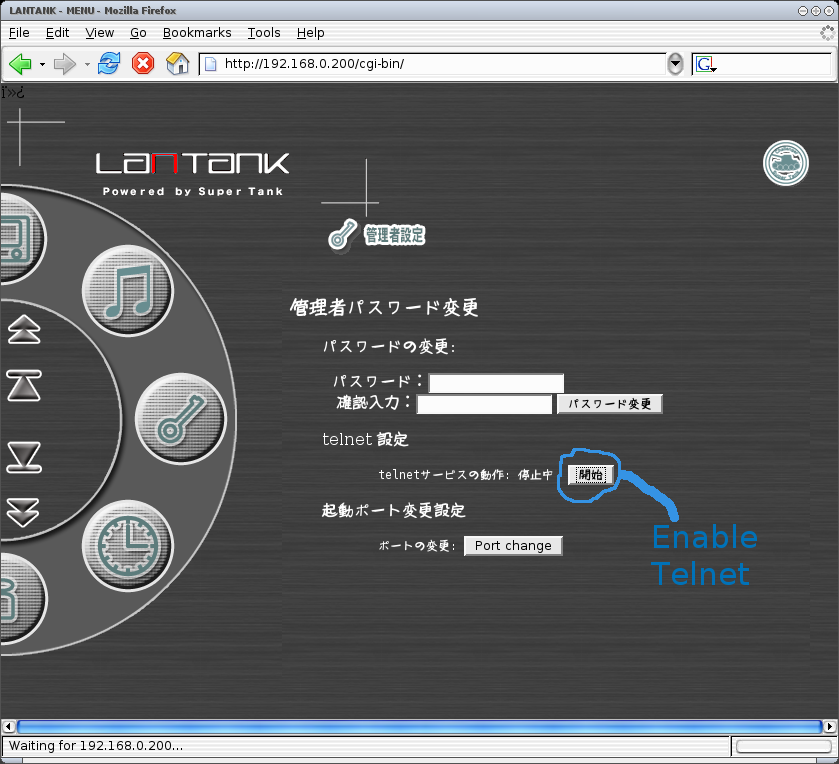 Click the button in the middle of the page to enable
the telnet server by default.
Click the button in the middle of the page to enable
the telnet server by default.
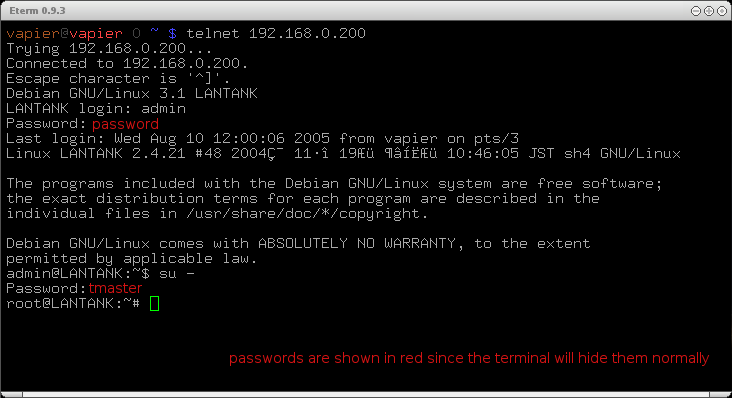
 Now you can access the machine over telnet and really have fun.
Telnet to 192.168.0.200. The default settings do not allow you
to login remotely as root, so use this info:
Username: admin
Password: password
Then from here you can simply `su -` to root:
Username: root
Password: tmaster
Now you can access the machine over telnet and really have fun.
Telnet to 192.168.0.200. The default settings do not allow you
to login remotely as root, so use this info:
Username: admin
Password: password
Then from here you can simply `su -` to root:
Username: root
Password: tmaster
FUN
Now the fun begins :). I'm using the machines to port Gentoo
with glibc and uClibc based systems.